Another new challenge over at Bitten by the Bug 2 is to use some sort of material that would otherwise be thrown out in a project or use a recycle theme. I am hosting for this challenge.
I hate waste and while I recycle, I also love to reuse what would be thrown away to make new useful items. I recently started a new job after the company I was with for 34 years closed. It has been an adjustment and I thought that some pretty new things for my desk would be a great pick-me-up.
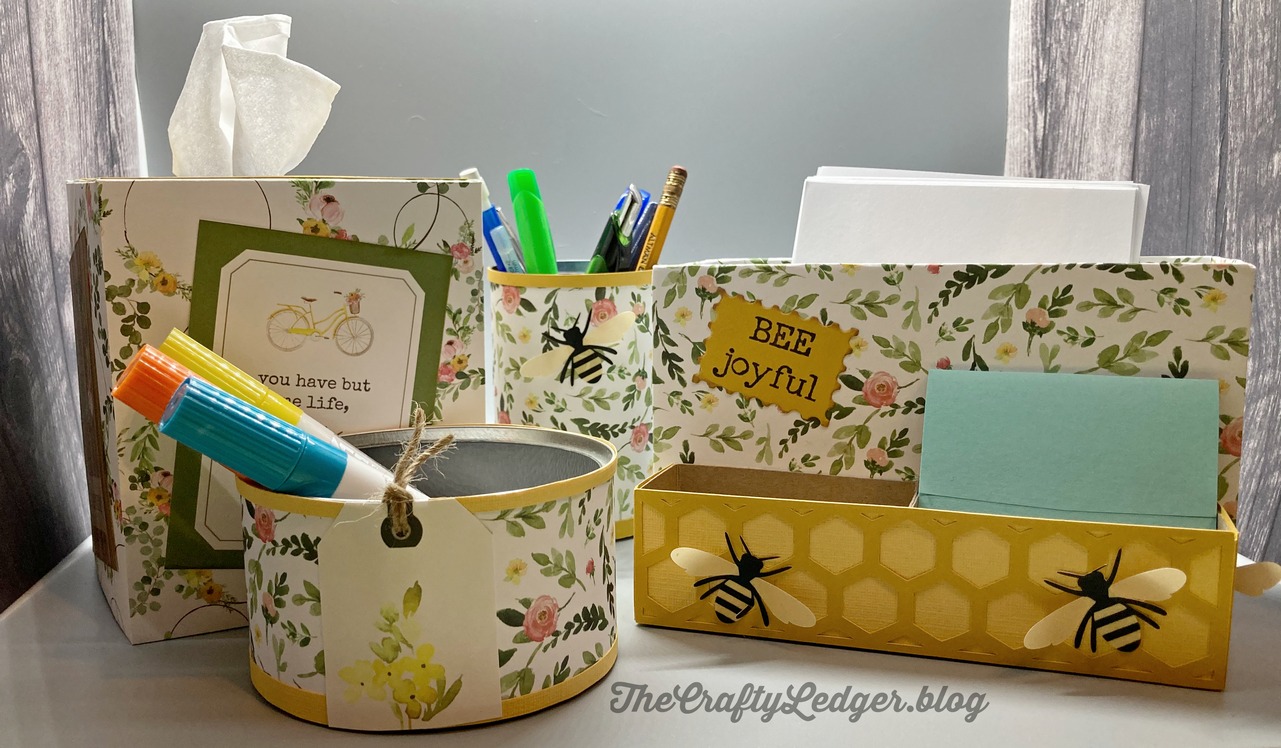
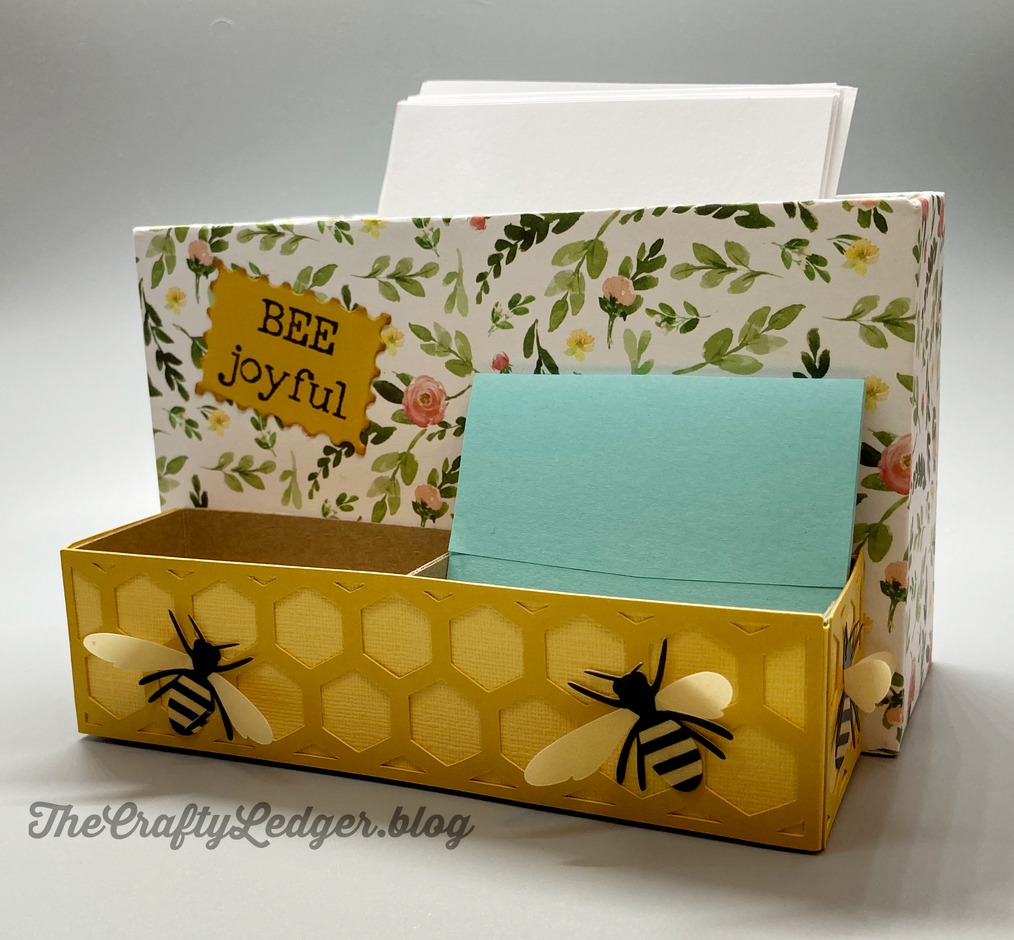
I started with a Triscuit box and a Jiffy Corn Bread mix box and came up with this great place for my sticky notes, scrap paper, and paper clips.
I was originally going to use an svg file for desk accessories and cut them from cereal boxes, but I discovered there really aren’t a lot of those files, or at least ones I liked, so I decided to just look for boxes about the size I wanted and use my Cricut to cut out some decorations. The Jiffy box was just right for the Post-It Notes. Opening the ends of the boxes allowed me to cut the boxes to the height I wanted on my paper cutter.
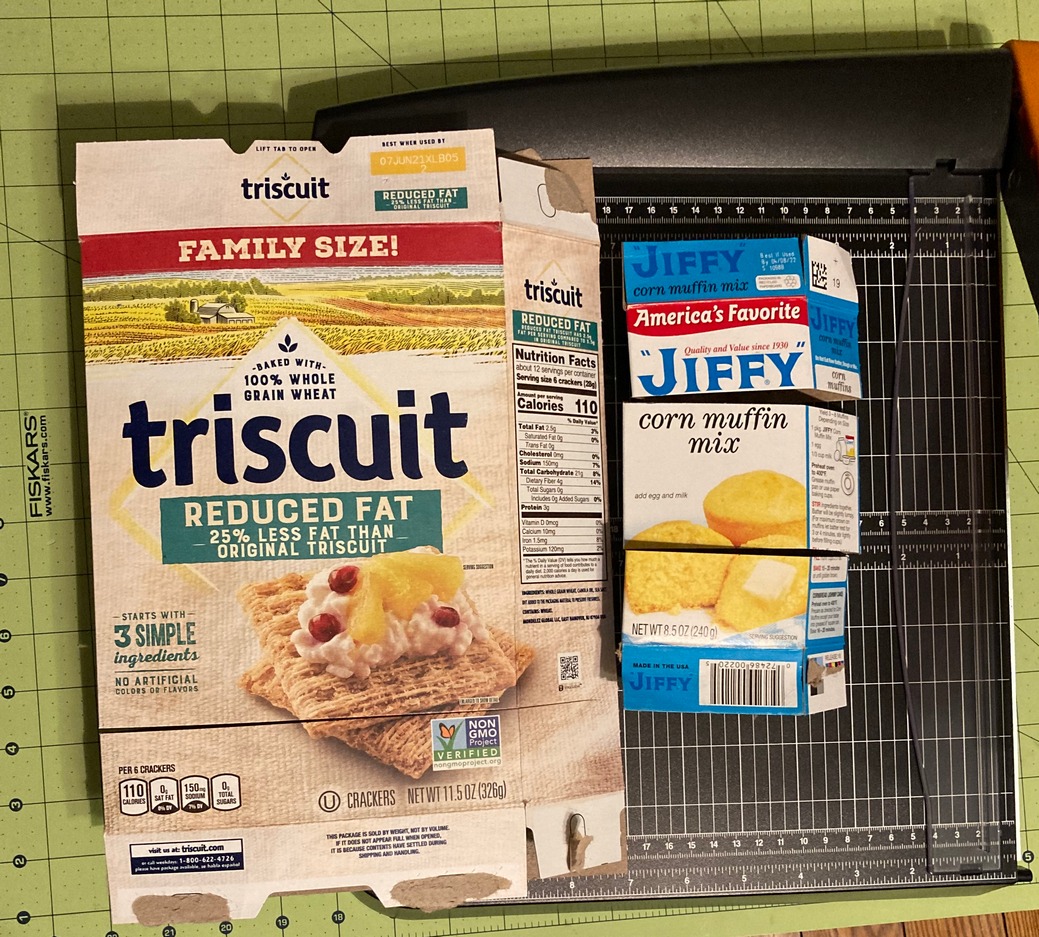
This was after cutting the Jiffy box, but before cutting the Triscuit box to the right size. I then taped the bottoms back.
After finally deciding that flowers and bees would be a nice theme, and something different than flowers and butterflies, I found this perfect honeycomb pattern as part of Teresa Collins Basics and this cute bee from Small Talk Frames & Tags. I made the honeycomb image the width of the Jiffy boxes glued together. I then used a rectangle the same width and the height of the cut boxes to slice out what I needed of the square honeycomb shape. I then made a frame out of two rectangles sliced out and welded it to the sliced honeycomb. I repeated for the size I needed for the sides of the smaller box. The bees were made from a gold velum and black vinyl. The velum really shows up so much better in person and I was able to bend up the wings for some dimension. Wrapping the boxes in a lighter gold before gluing on the honeycomb cut out was easy. I used a pattern paper from an Echo Park collection called Spring Market to wrap the larger Triscuit box and then glued the the Jiffy boxes to the front. I did have to put a separate sheet of people on the back of the box since a 12 x 12 wouldn’t go all the way around.
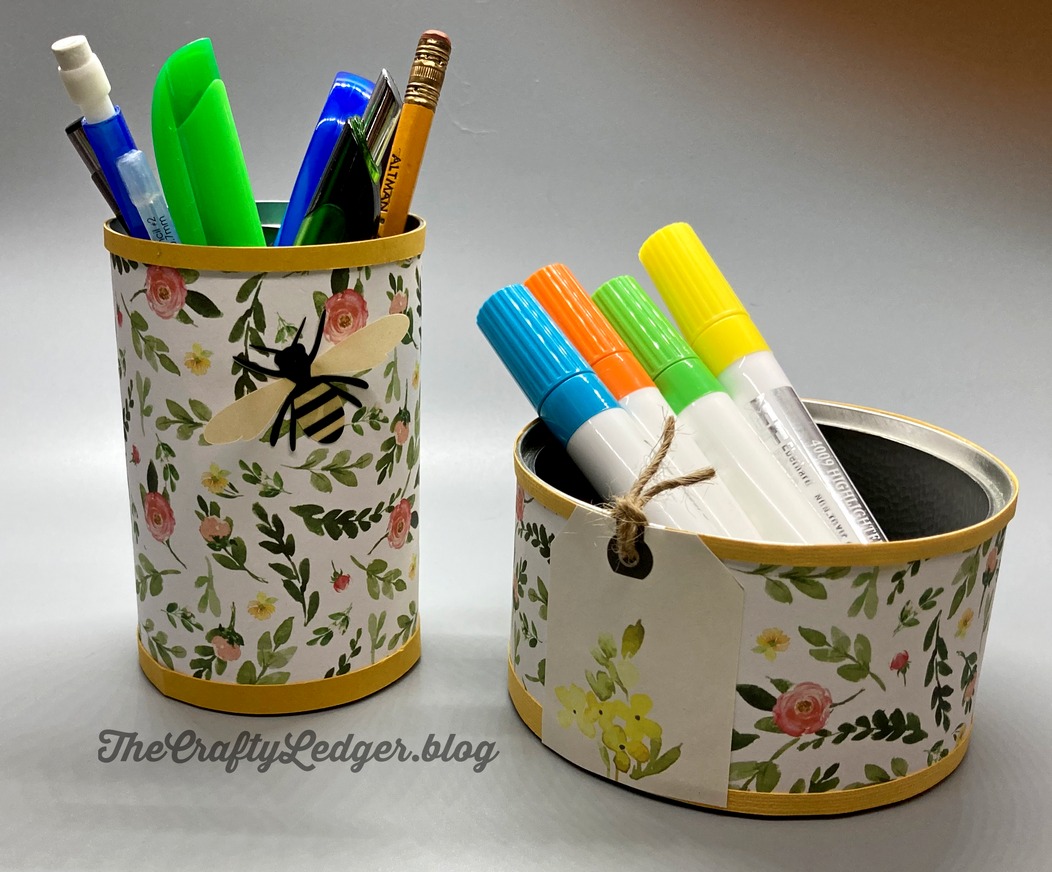
Classic use of tin cans as pencil holders the followed using a soup can and a chicken breast meat can wrapped in the same paper. I added another bee to the taller can, to tie them together. The tag on the shorter can covers up the fact that 12 inch paper didn’t go clear around the can.

I finished off with a tissue cover using another pattern from the collection. SVG Cuts has this on their website and I have used it several times. While this last piece didn’t technically reuse anything, I did use up some of my vast collection of paper, so that counts, right?
Have fun and put your own recycled or up-cycled project in the links at Bitten by the Bug 2 by August 1. – Denise

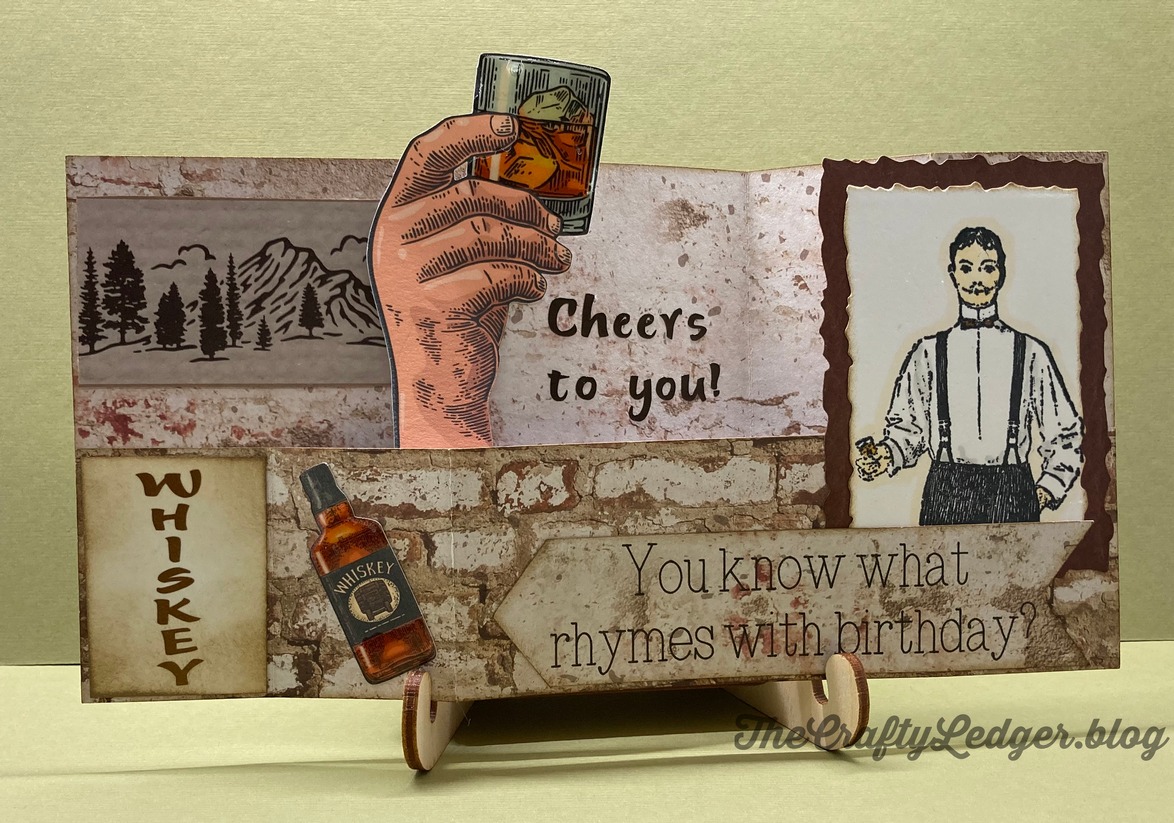
 Front of Card
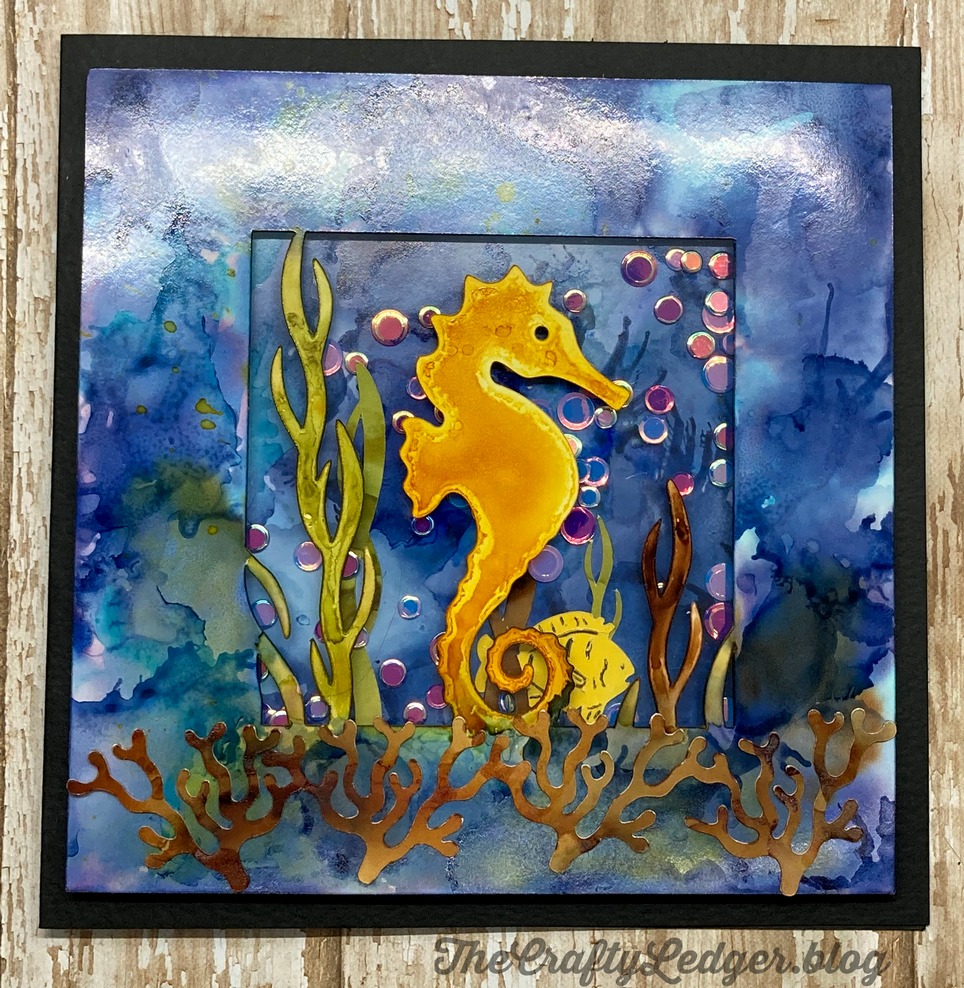