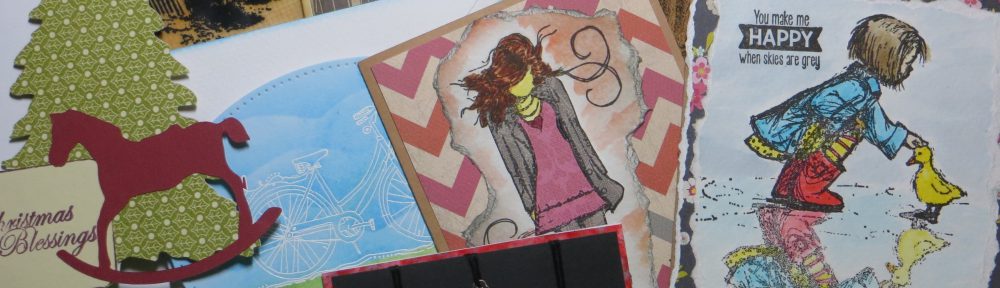
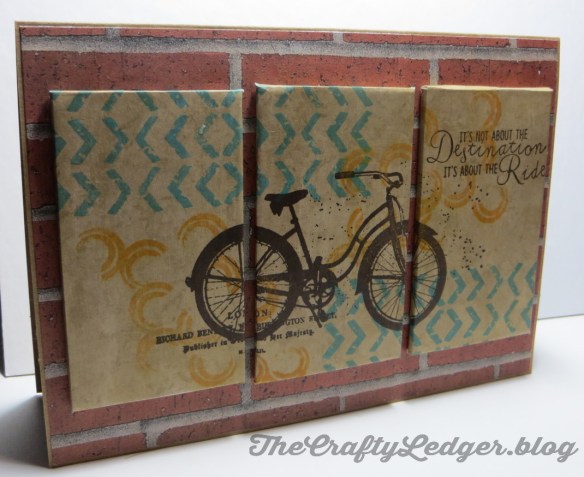
Inspiration can strike anywhere. While waiting at the doctor’s office with my father, I was staring at the art work on the wall which was a set of wrapped canvases that made one picture. I thought maybe I could do that on a card. Here is the finished card I came up with followed by the process I used after a few experiments.
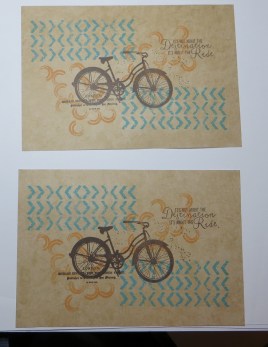
 A close up of the panel sides.
I started by stamping the same images on two pieces of 5 1/2″ x 8″ paper. Using a Misti or stamping platform makes this easier. I would stamp one of the images, change to the other paper and stamp it again on the new one. I would add another element, stamp it, change the paper and stamp again. I repeated this process until I was happy with the overall picture and made sure the sentiment was in a place that would fit on the far panel. I then cut one image in half and cut two inches off each end of the second image.
 .
.
Next I took a piece of balsa wood cut to 2″ x 3 1/2″ and placed it on top of the far right image so that the sentiment was positioned where I wanted it to be. I tried the first time with a piece of thicker foam, but it was harder to crease the edges done in the next step and glue, so I decided to go with the wood. I went around the edges with a scoring tool, then used a ruler to extend those lines with the scoring tool to the edges of the paper.


After I did that, I cut the four corners out using the score lines as a guide. I then put the wood down on the back again and brought each side around the wood creasing the edges. I took the wood back out and cut at a slight angle to the edge of the second crease.


I re-wrapped the wood with the paper and laid it down on the second panel to line up the images. I put the second piece of wood down a little way from the first piece and repeated the process of scoring and cutting above.


I then repeated the same process for the third panel, using the center one to line it up. After all three were cut out I used Modge Podge to adhere them to the wood wrapping them around the back. Here is what the backs of each looked like.

Finally, I put a coat of Modge Podge on the fronts of each panel and when they dried attached the three to a piece of brick paper to look like they were hung on a brick wall. It looks pretty cool in real life because you can see the sides and how the pattern continues on the side of each panel. I used all Unity Stamp Company stamps from the following kits. I’d Go Anywhere, Stay Classy, Find Your Zen, and Just Go. I used Distress Oxide Ink for the background images and Stazon Brown ink for the bike and sentiment. This is my first post trying to describe a technique, so I hope it is clear, and not clear as mud. Try it because it really wasn’t that hard or time consuming to do. – Denise

Thank you for sharing this cool project.
LikeLike
Thank you. I am glad to share since we all inspire each other.
LikeLike
What a great project! And your tutorial post was amazing!! I will have to try this!! Wow!
LikeLike
Thank you Kim. It was fun to figure it out.
LikeLike